Difficulty and survival guide

Gothic Remake Difficulty Settings: A Safer Beginner Guide

Use a practical difficulty plan for Gothic 1 Remake: understand what a harder setting changes, build a forgiving first route, and avoid treating one menu label or damage number as a promise across every patch.

Primary intentDifficulty settings
Best first habitDelay bad fights
Resource ruleTrain with a plan
Evidence ruleCheck live updates
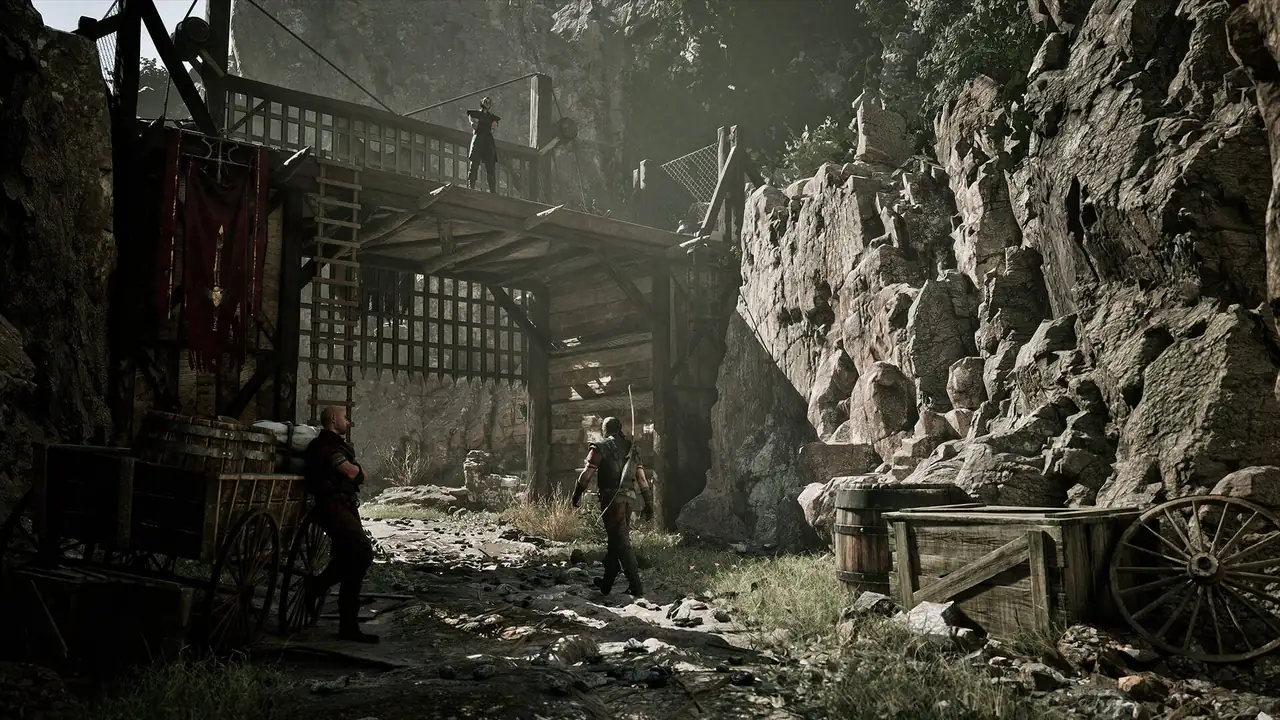
Gothic 1 Remake Mining Colony scene used to explain difficulty and survival choices
A verified Gothic Remake site image used as editorial context for the colony's pressure and route decisions.

Short answer: choose the setting that leaves room to learn

The best Gothic Remake difficulty setting for a first run is the one that lets you read attacks, learn the colony, and recover from a poor early decision. A harder option can be satisfying after you understand spacing, stamina or timing cues, equipment checks, and faction pressure. It is a poor starting point when every unknown creature becomes a reload and every missed trainer creates a dead-end feeling.

This guide uses the phrase Gothic Remake difficulty settings because that is the decision players are trying to make. Exact names, sliders, accessibility choices, and balance behavior can change with a release build or patch, so do not treat an old screenshot as a permanent specification. Read the current menu in your build, note what it says, and use the habits below to judge the real experience.

Difficulty is also a route problem. A forgiving setting does not remove the need to compare camps, avoid hostile shortcuts, carry healing, or protect Learning Points. A severe setting does not reward rushing. It rewards preparation, a retreat plan, and the discipline to return after training. The practical target is a clean learning loop: attempt, understand the mistake, change one variable, and try again.

If your real question is whether the combat system feels hard, use the Gothic 1 Remake combat guide. If you need a spoiler-light order for the first hours, open the beginner walkthrough. This page stays focused on difficulty choice, preparation, and recovery rather than replacing those guides.

Finally, separate verified facts from community reports. Store pages and official patch notes are useful for supported platforms and current updates, while player discussions are useful for spotting patterns. Neither source should make you promise a fixed damage multiplier without a current in-game check.
Choose your starting lane

What a difficulty decision can and cannot solve

A setting changes the pressure of play, but it cannot replace route planning or clear up every unknown system.

What the setting can help with

Use a lower-pressure option while you learn attack reads, camera distance, enemy reach, healing timing, and the cost of a failed expedition. It gives you more space to understand why an encounter went badly.

  • Learn the combat rhythm before committing to a camp or build.
  • Test a weapon, controller layout, and camera distance without burning rare resources.
  • Practice leaving a fight and returning with better gear or training.
  • Keep story and exploration momentum when a single encounter is not the point of the quest.

What the setting cannot solve

No menu option can tell you which NPC matters, whether a quest can wait, or whether a weapon is worth your Learning Points. Those are route decisions, and they remain important on every setting.

  • It cannot reveal hidden quest dependencies or faction consequences.
  • It cannot make an unsafe shortcut through the wilderness a good idea.
  • It cannot replace a backup save before a risky conversation or mod change.
  • It cannot confirm a patch-specific value when the current build has changed.

Build confidence before you raise the pressure

Start by measuring information, not damage. Can you identify an enemy's approach, recognise when your attack has finished, and back away without turning the camera into a wall? Can you reach a safe landmark with enough healing to return? If the answer is no, change the situation before changing the setting: use a clearer weapon, move into open ground, remove a second enemy, or leave and train.

The next step is resource discipline. Carry a small reserve for the unexpected, sell clutter before a long trip, and avoid spending every Learning Point on a broad set of skills. A forgiving first run is still easier when one attribute or weapon path has a clear purpose. When an encounter starts to feel routine, raise the challenge only if the game offers a safe way to do so; otherwise use a fresh run as the experiment.

The most useful checkpoint is emotional as well as mechanical. If a hard setting makes you curious, keep it. If it makes you reload without learning, lower the pressure and continue the story. You can always replay a known section later with stricter rules, a different faction, or fewer safety nets.

Gothic 1 Remake arena image illustrating controlled combat practice
A site-verified combat image used to illustrate safe practice space and readable encounters.

Decision table

Which Gothic Remake difficulty approach fits you?

Use the situation and your learning goal, then confirm the exact options shown by your current game build.
ApproachChoose it whenTradeoff and next check
Learning-firstYou are new to Gothic or modern action RPG timing.You may outgrow it; use the extra room to learn spacing and the map.
Balanced first runYou know basic combat but not the colony's factions or quest timing.Expect a few sharp walls; keep a retreat route and a backup save.
Hard challengeYou already understand enemy reach, training and resource loops.A mistake can cost time; avoid blind quests and test one change at a time.
Self-imposed rulesThe menu options do not match the challenge you want.Rules are flexible but require honesty; write down what counts as a reload.
Controller practiceThe difficulty feels like an input or camera problem.Fix layout and sensitivity before blaming the setting or buying new gear.
Performance checkStutter, frame pacing or unreadable effects hide enemy cues.Lower visual load, verify storage and drivers, then judge combat again.
Spoiler-light routeYou want to learn without opening a full quest solution.You still need to mark landmarks and ask NPCs questions before leaving safety.
Replay challengeYou know the route and want a cleaner, stricter run.Use the first run to learn; do not mistake repetition for a first-play recommendation.
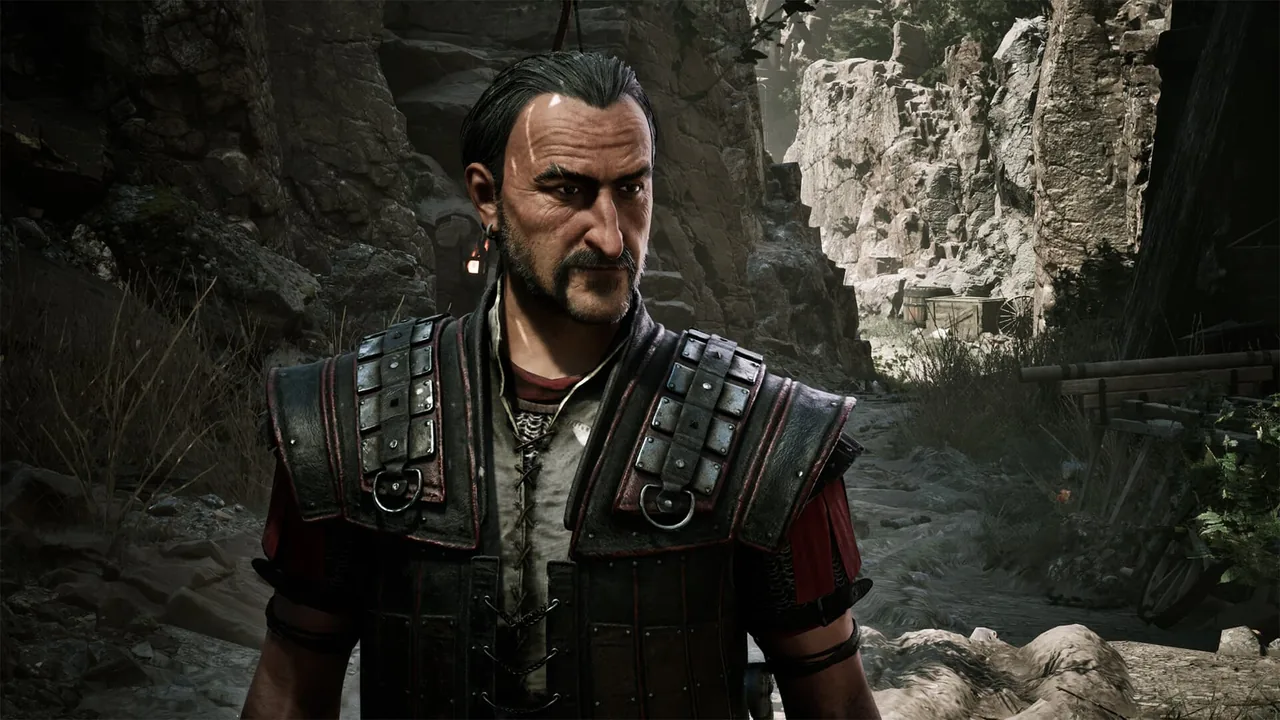
Gothic 1 Remake character image used for a beginner difficulty checklist
A verified character image used as a visual reminder that training and choices shape difficulty.

A seven-step beginner plan for a hard encounter

When the game suddenly feels too difficult, pause before switching every option. A controlled checklist tells you whether the problem is the setting, your route, your equipment, or a missing piece of information. The same checklist works when you keep a higher setting and simply want fewer wasted reloads.

Make the smallest safe change first. If a fight is optional, leave it. If it is required, move it into open space, isolate one target, and spend only the resources that answer the immediate problem. Then record what you learned so the next attempt is different rather than merely more aggressive.

  1. Mark the nearest safe landmark and make a manual save before entering the danger area.
  2. Ask whether the enemy or quest is optional; use the map and NPC notes before forcing a shortcut.
  3. Check weapon reach, armour, healing and available training instead of comparing only character level.
  4. Pull one opponent into open ground and keep the camera clear enough to read an approach.
  5. Spend one attempt observing: count the attack rhythm, retreat distance and recovery window.
  6. Change one variable, such as weapon, route, timing or setting, then test the encounter again.
  7. If the fight still teaches nothing, leave it for later and follow the beginner route toward a safer upgrade.

FAQ

Gothic Remake difficulty questions

Short answers for the settings and beginner decisions people ask about first.

Use the lowest-pressure option shown in your current build if your goal is to learn the colony and combat. Menu names and available modes can change, so confirm the label in game rather than relying on an old guide.

It can feel demanding because positioning, route knowledge, training and equipment matter together. A safer setting helps, but the biggest improvement usually comes from avoiding optional fights and returning after preparation.

Check the current settings menu and patch notes for your build. If the game does not offer a mid-run switch, use a manual save before a new run or apply the self-imposed approach described here.

Do not assume it does. Difficulty and progression are separate questions; verify any exact multiplier in the current game, while using the max-level guide for training priorities.

If the encounter is blocking progress and you are learning nothing, lowering pressure can be reasonable. First check whether the fight is optional, whether a second enemy can be separated, and whether a safer route or trainer solves the real problem.

Treat mods as build-specific changes. Back up saves, use a trusted source, read compatibility notes, and remove one change at a time. The difficulty guide does not endorse an unverified download or promise that a mod works after every patch.

Both matter, but skill and information compound. Reading reach, keeping space, choosing a good route and spending Learning Points carefully can make a hard setting manageable; a lower setting cannot fix a careless route by itself.

Use the Gothic 1 Remake combat guide for attack rhythm, parry, ranged choices and retreat logic, then return here when you need to choose the pressure level for your next run.

Sources and evidence boundaries

Use official pages for live platform and patch information, and treat community reports as observations that need a current in-game check.